After Action Report: Switching to Linux

I've wanted to move away from Windows since I first discovered Ubuntu in my middle school homeroom, it's just never been a good time to make the switch. Well, I did it this past Friday and I want to briefly document what I've done so that the folks I chat with regularly have a better idea of the process/the effort involved.
Backing up my shit
If you're not backing up your PC, you're not alone... but you should fix it ASAP. While you ideally want physical and digital (on- and off-site) backups of important data, the easiest thing you can do it buy a plan with a provider like Backblaze, install their backup software, and set up basic exclusions (like your games libraries and other non-essential directories).
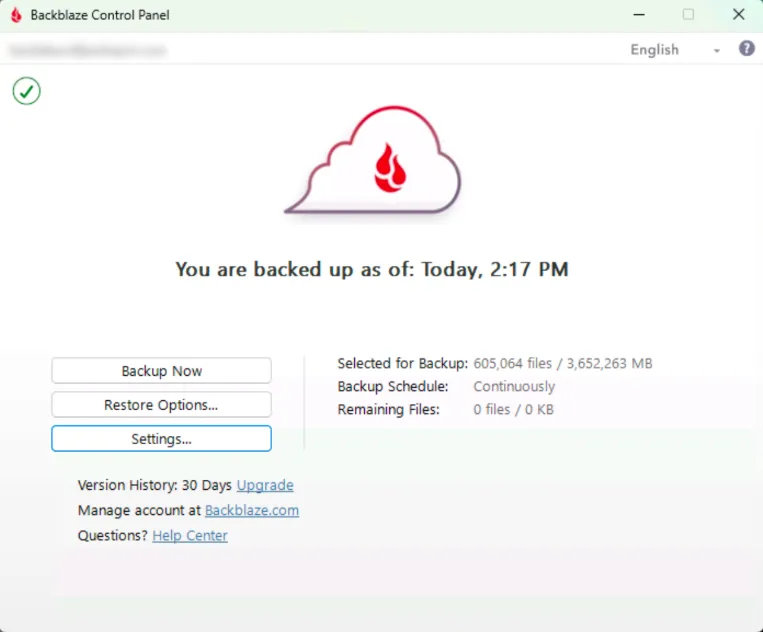
This was my first step, and even on my gigabit ethernet (with additional threads enabled in the Backblaze settings) it took overnight to upload everything. Worthwhile, even if I forgot to back up my OBS scenes like a moron. If I hadn't backed things up, I would have lost a couple hours configuring my microphone later on down the line. Instead, I logged into the Backblaze dashboard, found the file, and downloaded it from the backup in less than a minute.
Picking a distro + creating install media
I'm not here to argue or moralize about the best Linux distro for your use case: I chose EndeavourOS. In short, it's a rolling-release1 Linux distribution based on Arch Linux. It uses pacman and yay for package management, pipewire for unified audio handling (Linux has a lot of competing audio standards, pipewire is a drop-in replacement for all of them with its amazing compatibility layers), and their own eos-hwtool for simple GPU driver management. More on all of this later. I've messed with Arch Linux a few times before, and it's basically Arch that's optimized for gaming out of the box, so... not a super difficult choice.
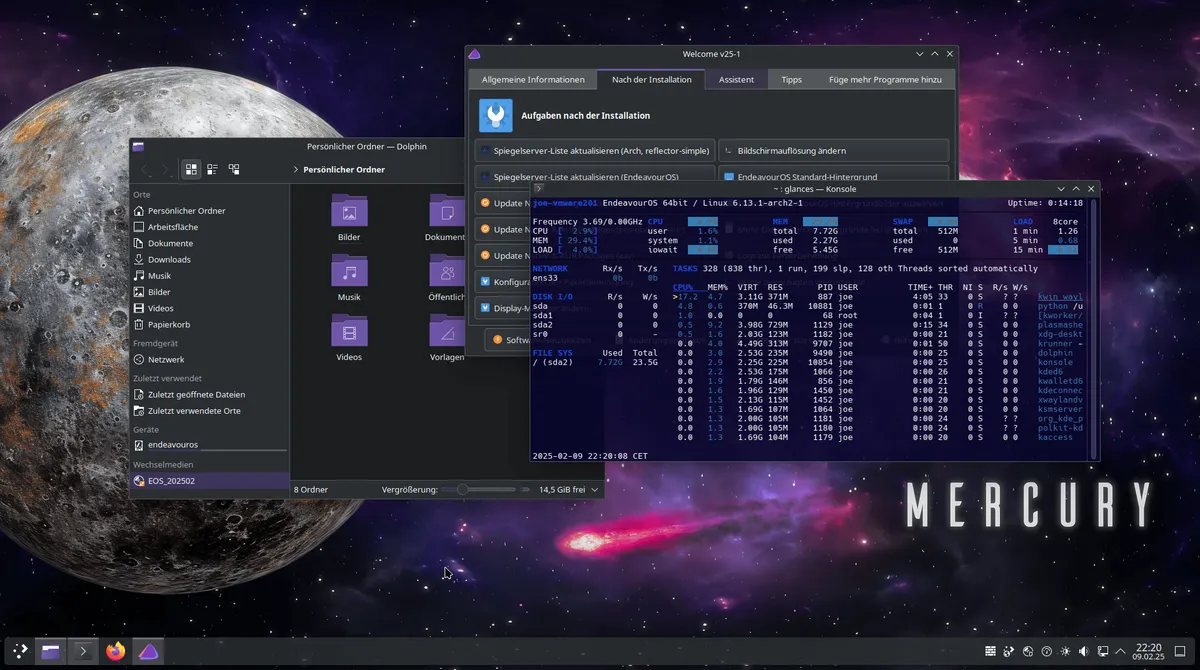
I downloaded the latest .iso on the EndeavourOS site and used Rufus to flash it to a spare 128GB stick I had lying around. I went into the BIOS and disabled Secure Boot, then launched into the installer and followed the prompts to replace my Windows install with the new operating system. Once it finished, I restarted my PC. Took about fifteen minutes, most of which was waiting for Rufus to finish with the USB.
Installing software
Downloading and installing software is a very different experience on Linux. While downloading and running installer .exe files off of some company's website is expected behavior on Windows, each major Linux distribution maintains their own official repositories containing safe, approved installers for popular (usually free/open source) software. Oversimplifying, but this is basically how it works out:
- Arch Linux maintains official core, extra, and multilib repos that cover everything needed to actually install itself (and then some extras)
- The Arch community maintains the Arch User Repository (the AUR), where Arch users submit Arch-specific installers for tons of popular software that won't ever end up in the official repos
So while you need to be careful when using the AUR, it's a huge boon for folks who just want their favorite software installed properly.
As soon as I checked that my drives were connected correctly, I installed a package finder I'd read about online named pacseek that's basically a friendlier frontend for finding and installing packages with yay.
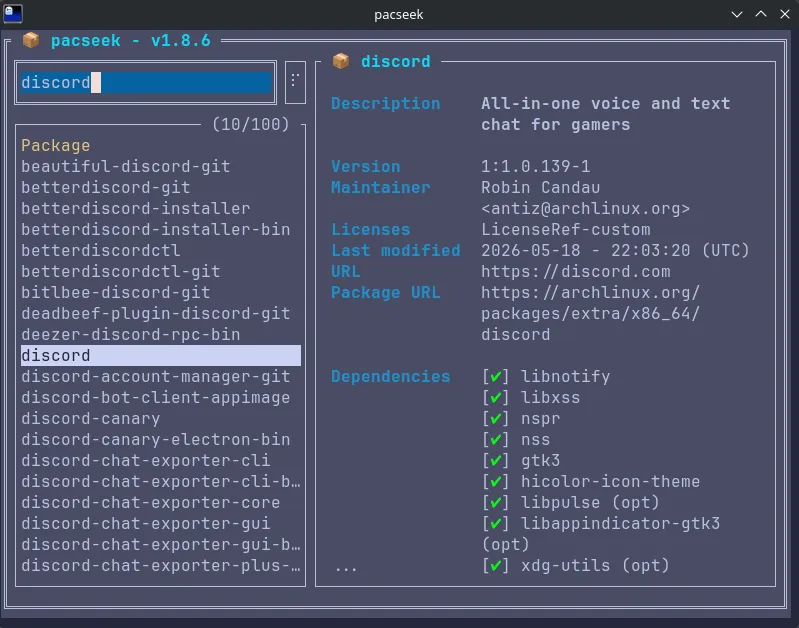
After a quick yay -S pacseek in my terminal, I ran pacseek and used it to install a couple things I knew I'd need:
steamfor gamesreaperfor processing my microphone audiosolaarfor managing my Logitech G502 Lightspeed mousediscordfor yappingobs-studiofor when I eventually stream again (whoops)
Gaming with Steam
You might be asking yourself, "dude, how are you going to play games on Linux? are games even made for that? surely it's super hit or miss, right?" WRONG! IDIOT! If you'd ever crawl out from beneath that rock you're living under, you'd see that Valve is slowly disrupting the PC gaming industry with proton, a compatibility layer that enables games compiled for Windows systems to run smoothly on Linux.
They didn't start the project (thanks CodeWeavers!) but have pushed it waaaaaaaay further than I ever expected. At the time of writing, hundreds of popular games are either Steam Deck verified or rated Platinum/Gold on ProtonDB, with over 80% of the games in my personal Steam library falling into either one or both of these categories. While widespread anticheat support remains a major issue for gaming on Linux, proton truly is the secret sauce that's been missing all these years.
Steam manages the installation and configuration of proton on its own, though it provides ways to configure it on an all-games or per-game basis within the Steam UI. If you run into issues with a game running jankily, it's usually resolved by heading into Steam and changing which proton version that specific game is launching with.
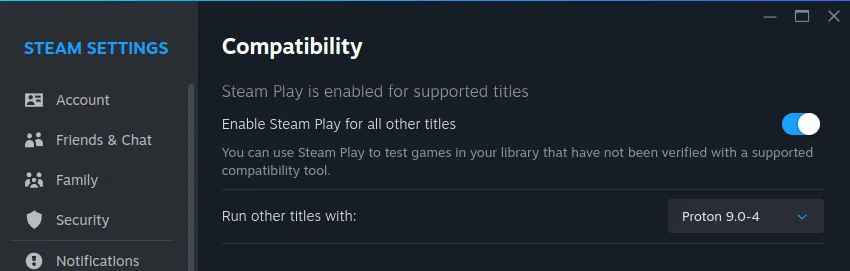
None of this required manual installation or management of my graphics drivers, and I have an Nvidia RTX 2080.
Setting up my microphone
Alright, so I've got my games all set up--what about my damn mic? I can't bitch and moan about my Deadlock teammates without one, and it's the whole reason I gave up on Linux last time. Well, I'm happy to share that I've conquered my demons by simply deciding not to be a total dumbass and choosing to read a few pages of the manual for pipewire, the big unifying audio framework I mentioned earlier.
But first, some context. Here's how my microphone is set up:
- My AKG D5 plugs into my UMC204HD interface, which is connected to my PC via USB
- The interface's mic channel is set as the input in REAPER, the digital audio workstation (DAW) I've used for a few years now
- I apply a bunch of filters and effects to the microphone signal, then point the finished output at a virtual audio source that can be selected in Discord/OBS/whatever
On Windows, this was as simple as installing a program named VB-Audio CABLE (made by the same folks who make Voicemeeter!), restarting my computer, and pointing REAPER's output at it. With EndeavourOS, the solution is to write a script that tells pipewire to tell PulseAudio to create a virtual audio cable manually and connect all the pieces together. This only requires a handful of commands once you know what you're doing, so I'll spare you the nerd shit and show you a visual of how it all fits together in the end:
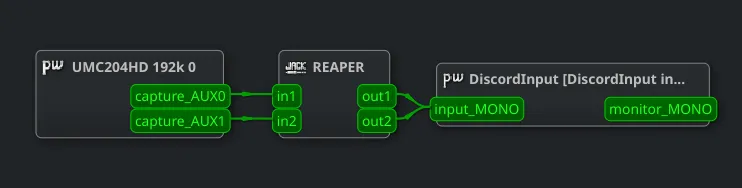
I cannot emphasize enough how much of a barrier this was for me. It feels really dumb in hindsight, but there are basically a bunch of types of virtual audio devices you can create with pipewire and I picked the wrong one like six times in a row last time and it pissed me off so much that I went back to Windows. The process of elimination wins again. Anyways, the end result is that I have an input device named DiscordInput that I can use as a microphone online. I poked around in my Backblaze backups until I found my most recent REAPER project file, then downloaded it and popped it into my current Linux install. Worked right away, needed zero adjustments.
Conclusion
Overall, this has gone super smoothly--using my computer is fun again! A few things I've done but didn't include in this blog post (maybe another time?):
- Setting up Doom Emacs so I can get back into programming with Clojure2 (apologies to Luke Gearing for asking for his
.vimrcand then never using it) - Building my own custom color templates for this awesome Magic: The Gathering card proxying app someone made, which I plan to use to print a bunch of meta Pauper decks to play with my wife
Also, I wrote this whole post in Emacs! And I even remembered to press SPC-b-s to save at the end!
Thanks for reading.
Rolling-release distributions are characterized by their constant flow of updates rather than quarterly or biannual major releases.↩
Starting over from scratch with a language has never felt so good. This is just the first series in a larger set of books/series/exercises.↩